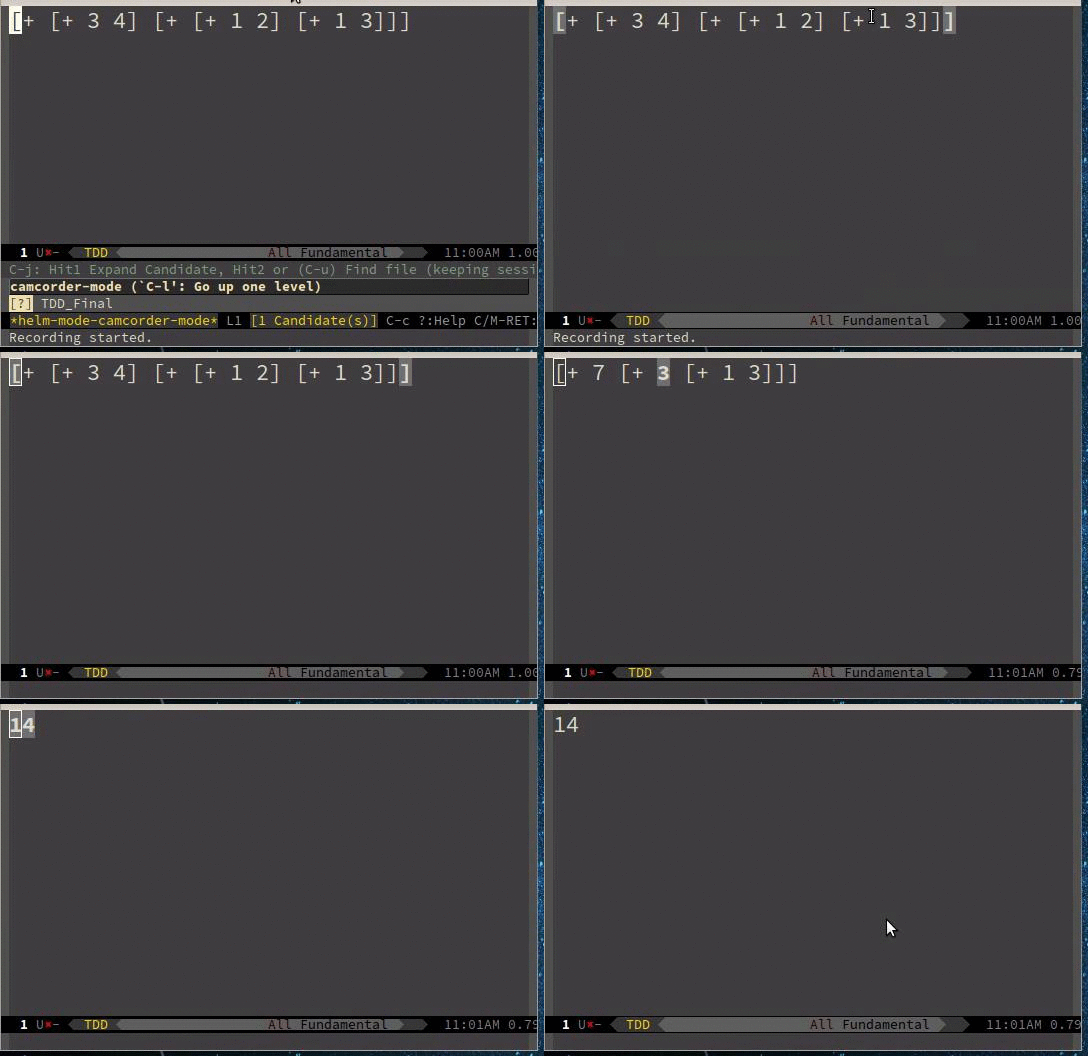
How to Create a Screencast GIF in Emacs
24 Sep 2015

I've always wanted to create a GIF using Emacs to demonstrate some
features, it just looks so cool. I finally got a chance after
attending the Leeds Code Dojo. The final exercise is bit unusual; we
have to write a basic expression evaluation program without using the
eval function in whatever language we choose. The first problem we
had was to figure out the order of sub-expression to evaluate. For
example, in (5 * (2 + 1) ) expression, we know we firstly add 2 to 1
to get the 3, and then multiply 3 by 5. It sounds trivial but it is
actually hard to write a program to do that.
I used regular expression1 to locate the most inner expression to evaluate, then replaced the expression with its evaluating result, and continued these two steps until there was no expression2.
The above GIF shows each step in a expression evaluation program written in Emacs Lisp.
This post show how to make GIF in Emacs on Ubuntu system.
Dependencies
There are three packages to install first. We need recordmydesktop
to capture the motion of the screen, mplayer to view the video, and
imagemagic to convert the recorded video into GIF file. They can be
installed easily using the apt-get command, as in the following bash
shell script:
sudo apt-get install recordmydesktop mplayer imagemagick
On Emacs side, I use camcorder package to control the
workflow. It is hosted in MELPA repository, and can be installed by
(package-install 'camcorder)Then everything should work nicely together.
Workflow
After these packages are installed, creating a GIF is simply, only requiring three steps.
1. Initiate the recording
In Emacs,
- Switch to the buffer we want to record, let's call this buffer the recording buffer,
- Initiate the recording by
M-x camcorder-recordcommand, - Choose where to save the video file, then
A new frame with the recording buffer will pop up. It is wrapped inside a white rectangular box. Everything inside the box will be recorded and saved in the video file. Note, if we move the window or overlay it with other windows, we probably get undesired results.
2. Record Choose the recording buffer/frame,
- Press
F-11to pause/resume, - Show some cool things,
- Press
F-12to stop,
Note the demonstration must have an effect on the recording buffer, and
we can use with-current-buffer function to dump the output for a
particular buffer, for example,
(with-current-buffer "Demo_Buffer"
  (insert "Start to demo: "))
will insert "Start to demo: " into the Demo_Buffer.
I found it is useful to wrap the demonstration into a function and bind to a key because I will probably run it many times.
(defun yt/camcorder-show-off ()
  (interactive)
  (goto-char (point-min))
  (insert "going to show you something cool, don't blink your eyes.")
  (sleep-for 2)
  ;;;; apply some functions
  (insert "\nExciting isn't?"))

(define-key camcorder-mode-map [f5] 'yt/camcorder-show-off)
There are two functions that are helpful control the flow. Use
sleep-for function to let the program wait few seconds, and use
y-or-n-p to let us choose whether to proceed or switch flow.
3. Make gif
After the demo is finished,
- Type
M-x camcorder-convertto convert a video file to a GIF file, - Choose a file name for the GIF file,
- Select convert method, and choose use
mplaywithimagicstick.
We probably repeat the step 1-3 multiple times until we are happy with the GIF.